Quickstart: Microsoft Azure
This guide will show you how to set up EdgelessDB using the Microsoft Azure Marketplace.
Get the machine
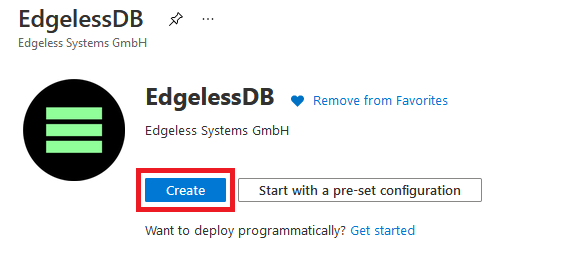
Visit the Azure Marketplace offering of EdgelessDB. Select Get It Now and follow the instructions until you are redirected to Azure Portal. Select Create:
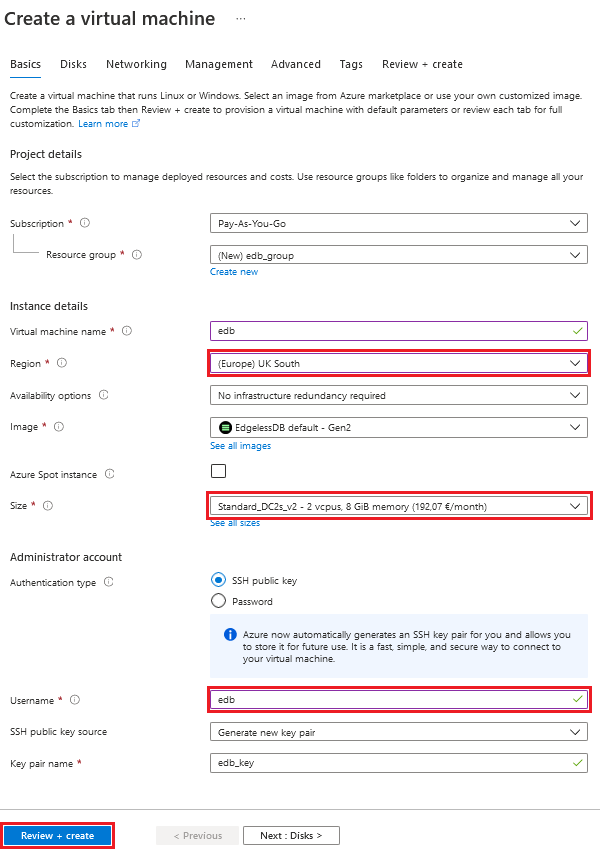
Then configure the virtual machine in the creation wizard.
For EdgelessDB to work on Microsoft Azure, you must choose a VM size that has an Intel® SGX® CPU. There are currently two VM sizes: The new DCsv3 series powered by Intel® Xeon® (Ice Lake), and the older DCsv2 series.
Create the resource group for your machine in one of the regions where the DCsv3/DCsv2 series is available.
The value for the Virtual machine name can be arbitrarily selected.
The value for the Username must be set to edb.
Finally, press the blue Review + Create button and then the Create button to finish the setup process.
Get the IP
After you have created the machine, get the public IP address of the database you just created, so you can interact with it.
Navigate to the resource group your virtual machine was created in and select the virtual machine.
The public IP address is displayed on the right hand side in the Essentials section.
Alternatively, you can use the azure-cli to get the public IP address:
az vm show -d -g <resource-group> -n <vm-name> --query publicIps -o tsv
Generate certificates and create a manifest
You will now create a manifest that defines a root user. This user is authenticated by an X.509 certificate.
Generate a certificate authority (CA) and a corresponding user certificate:
openssl req -x509 -newkey rsa -nodes -days 3650 -subj '/CN=My CA' -keyout ca-key.pem -out ca-cert.pem
openssl req -newkey rsa -nodes -subj '/CN=rootuser' -keyout key.pem -out csr.pem
openssl x509 -req -days 3650 -CA ca-cert.pem -CAkey ca-key.pem -CAcreateserial -in csr.pem -out cert.pem
Escape the line breaks of the CA certificate:
awk 1 ORS='\\n' ca-cert.pem
Create a file manifest.json with the following contents:
{
    "sql": [
        "CREATE USER root REQUIRE ISSUER '/CN=My CA' SUBJECT '/CN=rootuser'",
        "GRANT ALL ON *.* TO root WITH GRANT OPTION"
    ],
    "ca": "-----BEGIN CERTIFICATE-----\n...\n-----END CERTIFICATE-----\n"
}
sql is a list of SQL statements that define the initial state of the database. The two statements above create a root user that's authenticated by the user certificate you just generated.
Replace the value of ca with the escaped content of ca-cert.pem.
Verify your EdgelessDB instance
Before you can trust your EdgelessDB instance, you first need to verify its confidentiality. You can use the Edgeless Remote Attestation (era) tool for this. If you're just getting started, you may also skip this part.
Once you've installed era, you can get the attested root certificate of your EdgelessDB instance as follows:
wget https://github.com/edgelesssys/edgelessdb/releases/latest/download/edgelessdb-sgx.json
era -c edgelessdb-sgx.json -h <your-azure-ip>:8080 -output-root edb.pem
Here, edgelessdb-sgx.json contains the expected properties of your EdgelessDB instance.
Set the manifest
You're now ready to send the manifest over a secure TLS connection based on the attested root certificate of your EdgelessDB instance:
curl --cacert edb.pem --data-binary @manifest.json --resolve edb:8080:<your-azure-ip> https://edb:8080/manifest
In case you skipped the verification step, just replace --cacert edb.pem with -k in the curl command.
Use EdgelessDB
Now you can use EdgelessDB like any other SQL database:
mysql -h<your-azure-ip> -uroot --ssl-ca edb.pem --ssl-cert cert.pem --ssl-key key.pem
In case you skipped the verification step, omit --ssl-ca edb.pem in the mysql command.
For an example of EdgelessDB's confidential-computing features, see the demo of a secure multi-party data processing app.